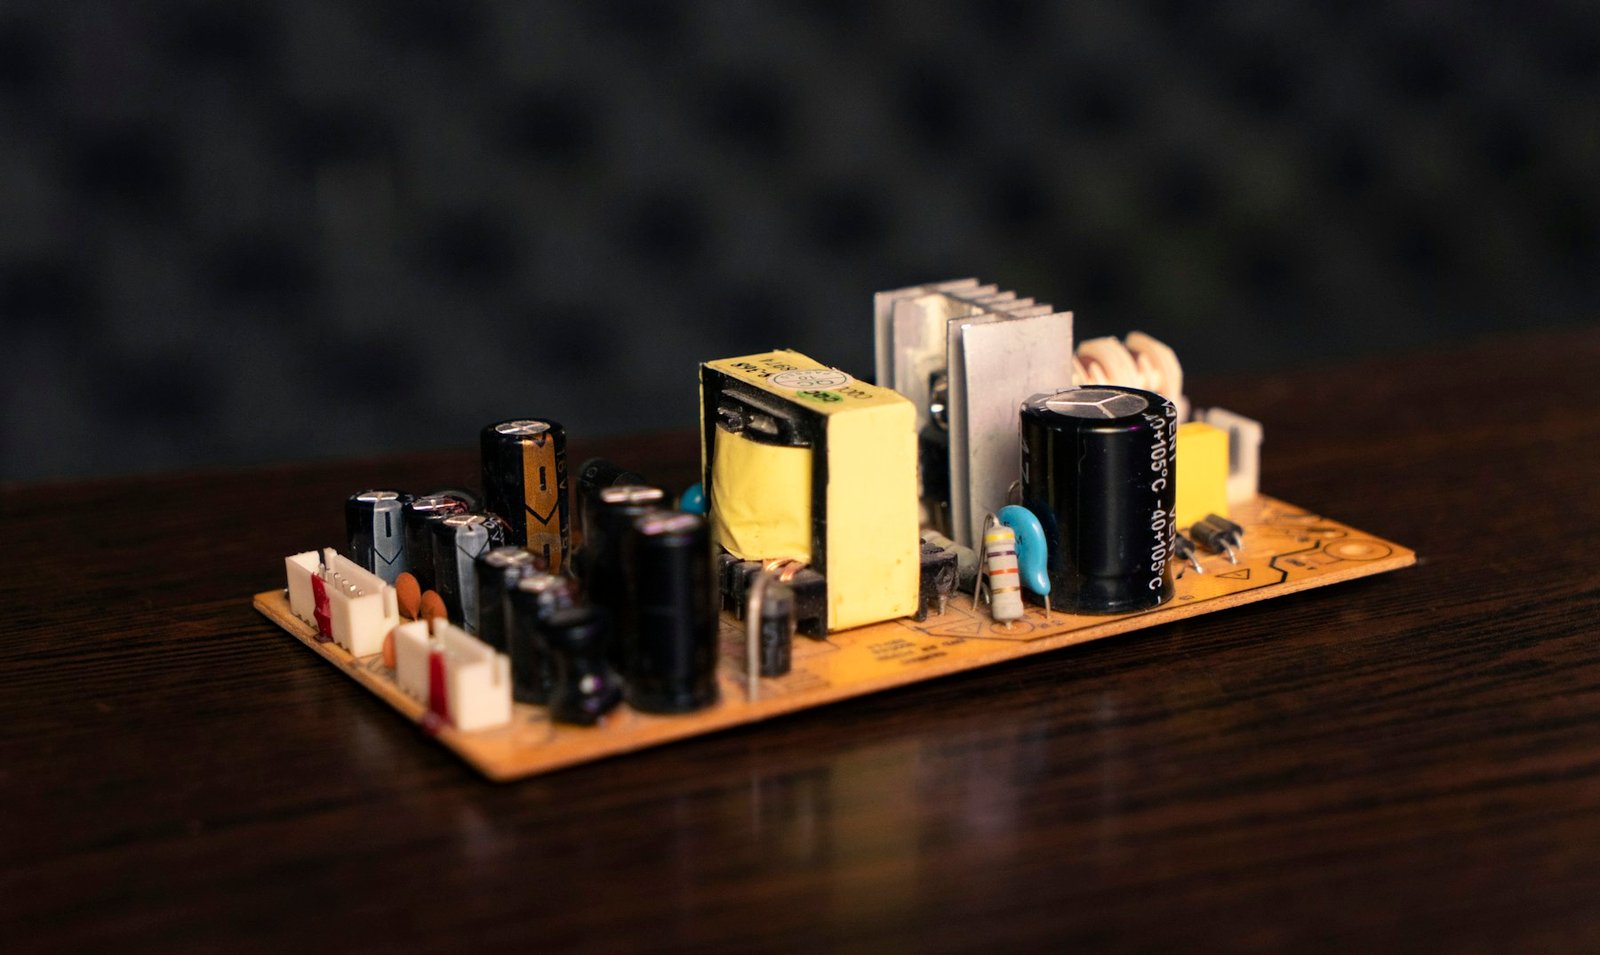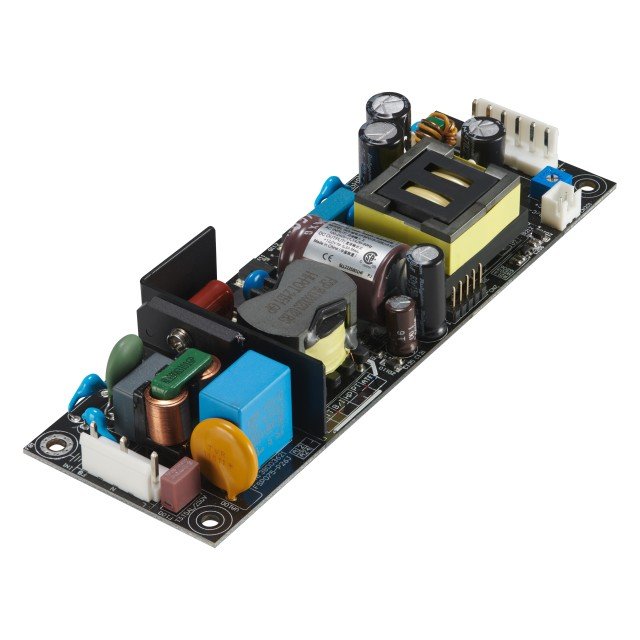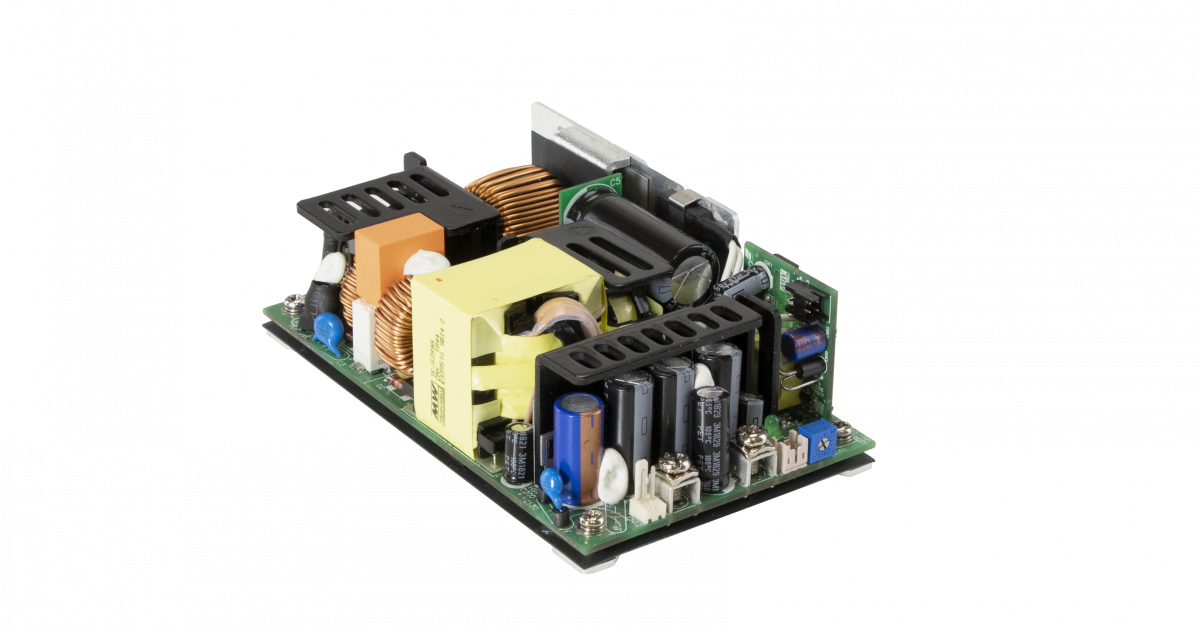
A replacement MOSFET fails the moment a repaired power supply starts. The transistor may have been correctly identified, yet the fault that overstressed it is still on the board. A damaged gate resistor, a defective clamp, or a broken current-sense connection can turn a straightforward component replacement into another failure.
A replacement MOSFET fails the moment a repaired power supply starts. The transistor may have been correctly identified, yet the fault that overstressed it is still on the board. A damaged gate resistor, a defective clamp, or a broken current-sense connection can turn a straightforward component replacement into another failure.
Replacing only the MOSFET does not guarantee a second breakdown. It does leave the repair incomplete when the surrounding circuit has not been checked. For equipment maintenance teams, the useful question is what evidence shows that the replacement will survive startup and normal service.
This guide covers six inspection areas around the primary MOSFET in a conventional single-switch, offline flyback supply. The approach is relevant to many adapters, chargers, appliance boards, and auxiliary industrial supplies. LLC converters, active-clamp flybacks, PFC stages, and integrated power-switch ICs need additional, topology-specific checks. Use the board schematic and controller datasheet to identify the actual circuit.
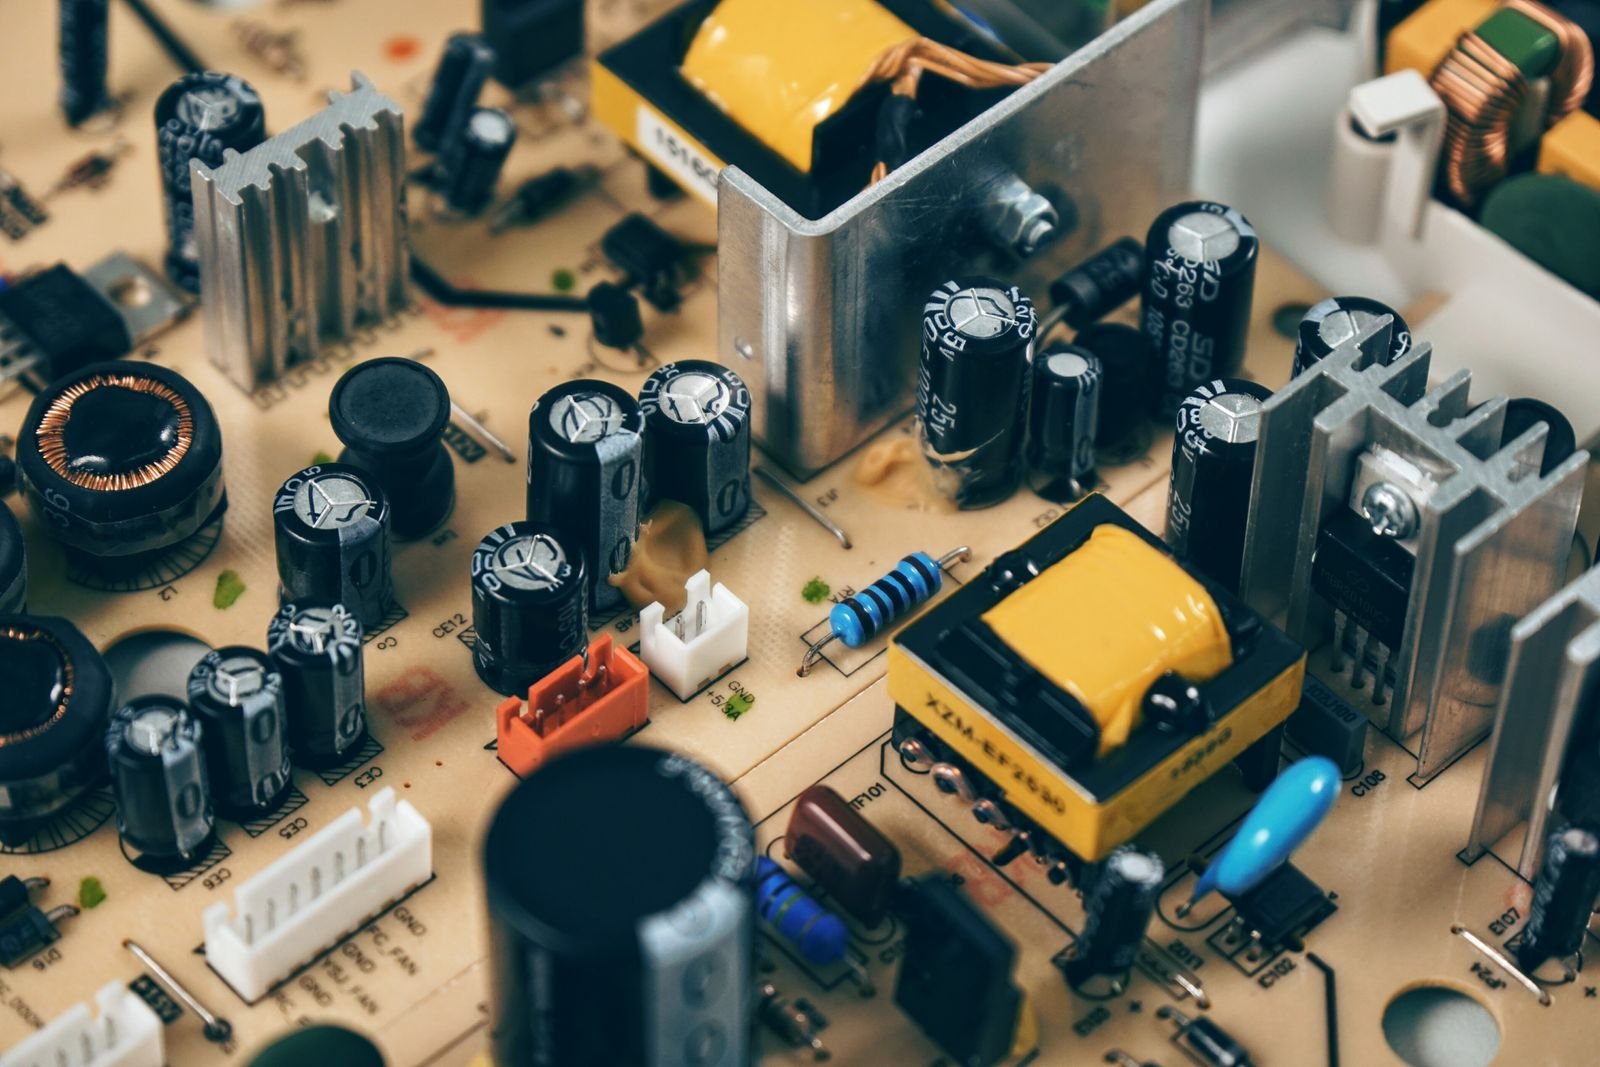
Make the board safe and confirm the failed device
Offline primary circuits contain hazardous voltage. Disconnect every supply and follow the service procedure for discharging stored energy, then verify the bulk capacitor voltage with a suitably rated meter before resistance or diode tests. Do not assume the bleeder resistor still works. Energized diagnosis belongs on a properly equipped bench operated by a qualified technician.
Identify gate, drain, and source from the exact part datasheet. Package appearance alone is unreliable. For a conventional enhancement-mode N-channel power MOSFET, discharge the gate to source before checking drain-source conduction. Its intrinsic body diode normally conducts in one direction, so a diode reading alone is not proof of failure.
A persistent near-short between drain and source in both directions, with the gate held at source potential and parallel paths excluded, strongly indicates failure. Gate-to-source or gate-to-drain shorts are also serious faults. The device does not need to show a short between every pair of terminals to be defective. When the surrounding network affects readings, remove the device or isolate the relevant connection.
A meter test finds gross faults; it cannot demonstrate correct blocking at operating voltage or acceptable switching performance. Record the failure pattern and inspect the board before cleaning away the evidence. Carbonization, cracked packages, and lifted pads help define how far the investigation must extend.
Six areas to inspect before fitting a new MOSFET
| Inspection area | Components to check | What the result tells you |
|---|---|---|
| Input path | Fuse, bridge rectifier, surge and inrush parts | Whether the fault damaged the input or originated there |
| Current sensing | Source shunt, sense filter, return traces | Whether the controller receives a credible current signal |
| Gate circuit | Series resistor, pull-down, clamp, driver connections | Whether the MOSFET can turn on and off as intended |
| Drain clamp | RCD or other clamp components and joints | Whether turn-off voltage stress is being controlled |
| Controller and bias | PWM IC, startup path, auxiliary rectifier, VCC capacitor | Whether drive and bias supply remain stable |
| PCB and related circuits | Copper, insulation, feedback, secondary rectifier and load | Whether a hidden fault will overstress the repaired stage |
1 Check the fuse and bridge rectifier
A shorted primary MOSFET can draw heavy current through the rectifier and input protection. Check the fuse out of circuit or with parallel paths excluded. Inspect the bridge for cracks and test each of its four diode junctions using the pin markings and datasheet.
Expect directional conduction rather than a universal forward-voltage number. Meter test current, diode technology, temperature, and in-circuit paths affect the reading. A low reading in both directions requires further isolation before condemning the bridge; an open junction also matters.
Continue through the surge suppressor, inrush limiter, input joints, and bulk capacitor. These parts may be damaged independently of the MOSFET. Restore the original fuse specification, including its current, voltage, breaking capacity, and time characteristic. An uprated fuse can conceal a continuing fault and change the equipment's protection.
2 Verify the current sense resistor and its signal path
Many flyback controllers measure primary current through a low-value resistor in the MOSFET source return. Confirm the value from the schematic, markings, or an undamaged equivalent board. Values such as 0.1 to 0.33 ohm occur in some supplies, but they are not a general replacement range.
At these resistance levels, lead and contact resistance can be comparable to the component value. Use an appropriate low-resistance measurement method, preferably four-wire measurement where available. Check each resistor if the design uses a parallel network, and inspect its solder joints.
An open shunt in the only source return path normally interrupts the intended power-current path. It does not automatically make the controller run continuously. A different fault, such as a shorted shunt or a damaged sense trace that suppresses the signal at the controller, can undermine current limiting. The effect depends on the circuit and the IC's fault response.
Follow the signal through any series resistor and filter capacitor to the current-sense pin, including the controller ground return. The external shunt provides the current signal used by a peak-current-mode controller. Check the current-sense threshold and fault response in the exact controller datasheet.
Restore the specified resistance, tolerance, pulse capability, and construction. Do not fit a smaller resistance simply to stop an overload trip.
3 Test the complete gate circuit
Check the resistor between the driver output and MOSFET gate. A violent device failure can damage this resistor or its pads, especially if drain voltage reaches the gate network. A replacement transistor cannot switch correctly through an open drive path.
Inspect the gate-to-source pull-down resistor, any gate clamp or Zener diode, and separate turn-on or turn-off diodes if fitted. The pull-down helps define the off state when the driver is inactive. Its value is design-specific; 10 kilohms is an example, not a standard repair value. An open pull-down increases susceptibility to unwanted gate charging under some conditions, but does not guarantee distorted switching in every design.
Preserve component placement and short connections. Extra wire length in the gate loop can change ringing and switching behavior.
4 Check the drain clamp and snubber
In a flyback converter, transformer leakage inductance creates an additional drain-voltage spike when the MOSFET turns off. The switch must withstand the input bus voltage, reflected output voltage, and the remaining transient stress.
Identify the network actually fitted. A circuit containing a resistor, capacitor, and diode is commonly an RCD clamp. A plain RC snubber has no diode and is not interchangeable with it. Some designs use a TVS clamp or an active clamp instead.
Test the clamp diode for gross shorts or opens and verify its specified voltage and recovery characteristics when replacing it. Check the resistor value and signs of overheating. Inspect the capacitor for damage and assess capacitance and insulation using suitable equipment. A capacitor can pass a simple continuity check yet be unsuitable under repetitive pulse stress.
Retain the specified capacitor technology and pulse rating. Replacing a fast clamp diode with a general-purpose rectifier because the voltage rating looks sufficient can change circuit behavior.
Static checks are only the first stage. The repaired supply still needs a drain-waveform assessment under the approved test conditions.
5 Examine the PWM controller and its bias supply
Damage can reach the controller through the gate-drive or current-sense network. Check for abnormal shorts at VCC, drive, and sense connections against the schematic. A controller that passes resistance checks may still have a damaged output stage, so those checks alone do not clear it for service.
Inspect the startup resistors or high-voltage startup circuit, auxiliary-winding diode, VCC capacitor, and any supply clamp. Confirm capacitor capacitance and ESR where relevant. Poor bias hold-up can cause repeated start-stop operation even when the new MOSFET is healthy.
A supply that repeatedly starts and stops is not automatically suffering another MOSFET fault. Compare VCC behavior with the controller's startup and undervoltage-lockout thresholds. A collapsing bias supply can prevent startup or trigger repeated restart attempts.
Do not short the startup resistor to force operation. Where the manufacturer's procedure allows external controller bias, use the specified isolated, current-limited source and connection method. An improvised bypass may overvoltage the IC or expose the external supply to the primary bus.
6 Inspect PCB damage and faults beyond the primary switch
Use magnification to follow suspect tracks and inspect both sides of the board. Pay particular attention to current-sense returns, gate connections, controller supply tracks, and the area beneath the failed package. A continuity reading does not establish that a damaged conductor can safely carry its operating current.
Carbonized laminate near a high-voltage node can compromise insulation. Do not simply bridge a burned area with wire. Any permitted conductor repair must preserve current capacity, mechanical security, creepage, and clearance. Extensive carbonization or damage at the isolation barrier can make board replacement the appropriate decision.
Check the output rectifier, output capacitors, and connected load for shorts. Inspect the transformer for heat damage and investigate suspected winding faults with appropriate equipment; normal winding continuity does not exclude shorted turns. Check the optocoupler and reference circuit where fitted, or the auxiliary sensing network in a primary-side-regulated design.
For an industrial installation, record the conditions around the failure too. Overload, poor ventilation, damaged cabling, or abnormal input conditions can remain after a successful bench repair. A repaired supply returned to the same unresolved environment may fail again.

Select a compatible replacement MOSFET
Use the original approved part when available from a traceable source. A substitute needs more than an equal or higher current rating. Package insulation, pinout, drive requirements, and switching characteristics all affect whether it will work in the existing design.
| Replacement property | Why it matters |
|---|---|
| Drain voltage rating and transient capability | Must cover actual switching stress with the design margin |
| On resistance at the available gate voltage | Determines conduction loss under the real drive conditions |
| Gate charge and switching characteristics | Must suit the controller's source and sink capability |
| Thermal resistance and mounting | Affects junction temperature and heat transfer |
| Pinout and tab insulation | Prevents wiring errors or unintended heatsink connections |
A device with a larger current rating can also have substantially different gate charge. Treat substitutions as an engineering decision and verify the resulting waveforms and temperature. Restore the original insulating pad, mounting hardware, and thermal interface as required by the assembly procedure.
Validate the repair before returning it to service
Complete the unpowered checks first. Confirm component orientation, clearance around reworked joints, the fuse specification, and the absence of unintended shorts. Record the parts replaced and the evidence for the suspected cause.
Use an approved bench arrangement that provides the required isolation and current limiting. An isolation transformer does not limit fault current; a variac alone does not provide isolation. A series lamp, where an established service procedure permits it, is only a gross fault indicator and may prevent normal startup. It cannot validate full-load behavior.
Applying an arbitrary low DC voltage to the mains input is not a universal preliminary test. The startup circuit may never reach its operating threshold, and low input can produce operating conditions unlike normal service. Use only the input range and test method supported by the actual design.
During controlled energization, assess VCC, output behavior, gate-to-source drive, and drain-to-source stress. Choose probes with adequate differential, common-mode, transient, and measurement-category ratings. Never defeat the oscilloscope's protective earth or attach an ordinary earth-referenced ground clip to a live primary node.
| Validation stage | Evidence to collect | Reason to stop and investigate |
|---|---|---|
| Initial startup | Input current, VCC rise, output rise | Excess current, abnormal drive, unexpected restart cycling |
| Required input and load range | Output regulation, gate and drain waveforms | Excess voltage stress or unstable operation |
| Thermal operation | Component temperatures after stabilization | Abnormal heating or inadequate cooling |
| Return to service | Applicable insulation and protective-earth checks, repair record | Damaged insulation or unresolved fault cause |
Some controllers intentionally use burst operation at light load. Judge that behavior against the datasheet rather than treating every changing pulse pattern as a defect. A steady output reading at no load is useful, but it is insufficient evidence of a reliable repair.
Close the repair with a documented cause
The six inspection areas provide a practical starting point: input protection, current sensing, gate drive, drain clamping, controller bias, and PCB or related circuit damage. They help separate the visibly failed component from the conditions that caused or accompanied its failure.
For maintenance teams and OEM buyers, a useful repair report includes the failed parts, the likely cause, and the measured acceptance results. If the board cannot be restored and verified economically, replacing the complete supply may reduce downtime and uncertainty. When discussing a replacement with SIPURUI, provide the equipment's input range, output load profile, installation conditions, and any available failure measurements so the application requirements can be reviewed.